Baking is both an artwork and a science. Whether you are whipping up a batch of cookies or crafting a sensitive soufflé, the right techniques make all of the difference. But what exactly does it take to turn out to be a exceptional baker? Let’s dive into the fundamentals and beyond.
Essential Baking Tools and Equipment
Before you start baking, you need the right tools.
- Measuring Cups and Spoons – Accuracy is key in baking.
- Mixing Bowls – Different sizes for different tasks.
- Whisk, Spatula, and Mixer – For smooth, lump-free batters.
- Oven Thermometer – Because not all ovens are reliable!
Understanding your oven is also crucial. Always preheat it and learn how it distributes heat.
Mixing methods
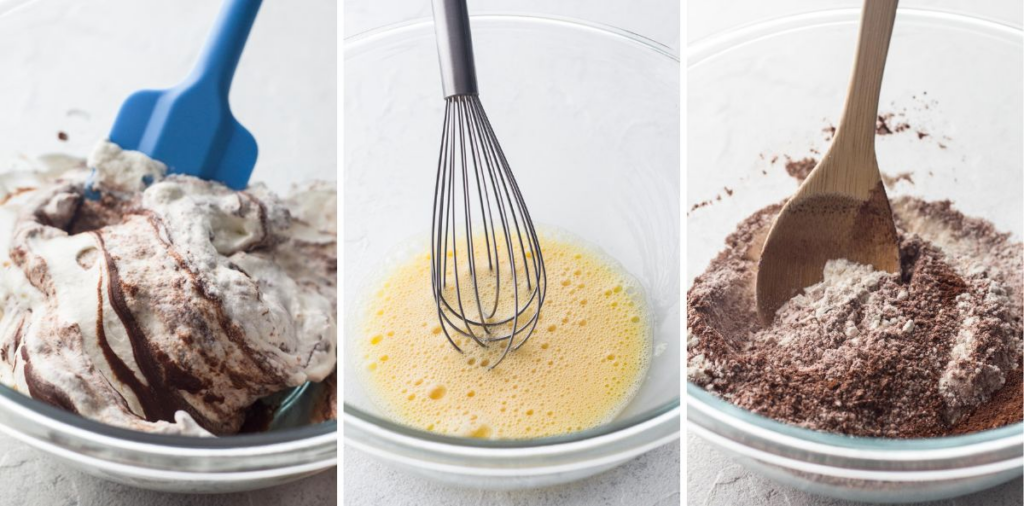
reaming Method-This classic involves beating butter and sugar together until light and fluffy. It incorporates air for volume—perfect for cookies and cakes.
Muffin Method-Whisk dry and wet separately, then combine quickly with minimal mixing. Lumps? Let them be. Overmixing here = rubbery muffins.
Biscuit Method-Cut cold butter into flour until crumbly. This creates flaky layers. Think scones, pie crusts, and of course, biscuits.
Folding Technique-Used in meringues or whipped cream batters. Fold gently with a spatula to avoid deflating. Think of it as a soft swirl-and-scoop motion.
Dough and Batter Handling

Kneading Dough:
Kneading builds gluten, giving bread its chewy texture.
Manual vs. Machine Kneading:
Hands-on? Go for the rush-flip-fold approach. Using a mixer? Don’t overdo it—10 mins max or you’ll danger difficult dough.
Dough Resting & Proofing:
Resting we could flour hydrate and gluten relax. Proofing activates yeast. Rushing those steps = sad, dense bread.
Chilling Cookie Dough:
Chill for at the least half-hour to save you spreading and deepen flavor.
Temperature Control Techniques
Preheating the Oven
Never bypass preheating. A cold oven will ruin your upward push and texture. Give it 10–15 minutes to stabilize.
Understanding Hot vs. Cold Starts
Some breads and pies gain from a cold begin (especially sourdoughs), however desserts and cookies? Always warm and geared up.
Checking Internal Temperature
Don’t wager. Use a thermometer:
Bread: one hundred ninety–210°F
Cake: ~2 hundred °F
Baking Pan Preparation

Greasing and Lining Pans:
A little attempt goes a long way. Grease with butter or spray, line with parchment. No more stuck cake disasters.
Choosing the Right Pan Material:
Glass, metallic, ceramic—every heats in a different way. Stick to light-colored steel pans for even browning.
Baking Timing
Cakes: Spring back when touched.
Cookies: Edges golden, centers set.
Bread: Hollow sound when tapped.
Toothpicks work for cake and brownies—but use a thermometer for accuracy, especially for meat-based pastries or cheesecakes.
Cooling and Storing Techniques
")
Proper cooling racks: Airflow = crispy edges and no soggy bottoms. Always cool on a rack, not in the pan (unless the recipe says otherwise).
Storing for Freshness: Let things cool completely before storing. Use airtight containers, and wrap tightly to avoid drying out.
Common Baking Mistakes and How to Avoid Them

Overmixing = tough texture
Cold ingredients = poor emulsification
Wrong oven rack = uneven baking
Skipping the scale = dry disaster